


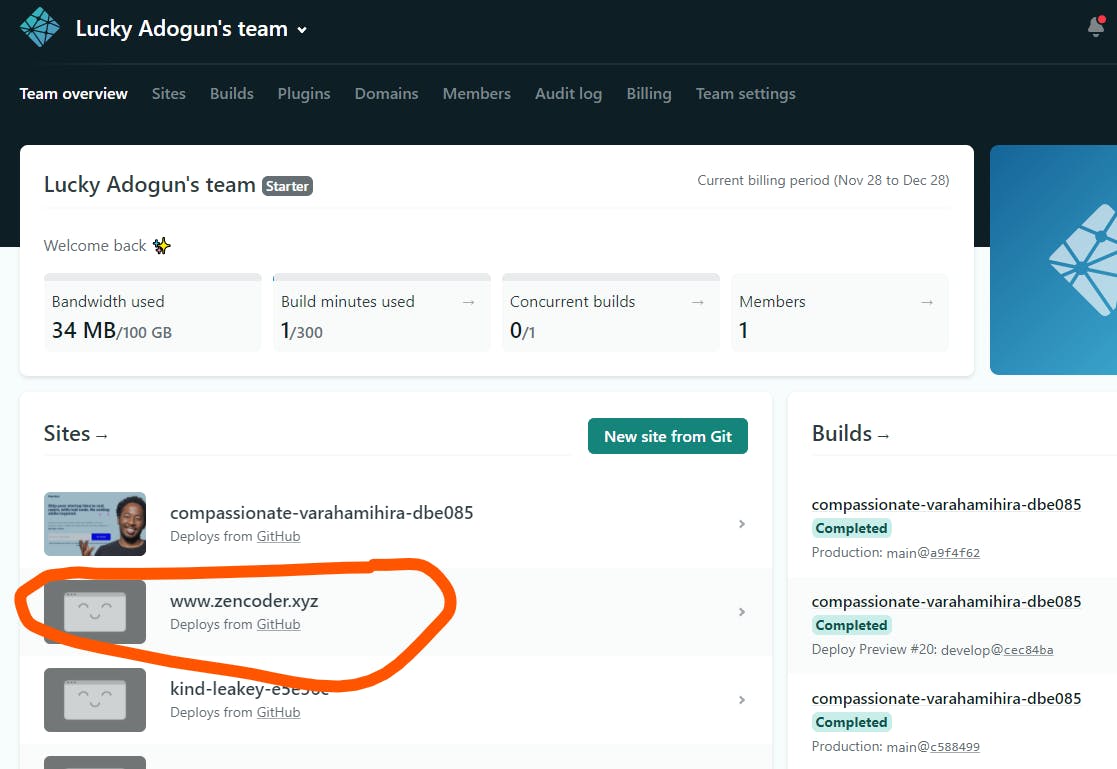
How do you connect your exisiting app on Netlify with Hashnode?
- Log in to your Netlify Dashboard and select the app you want to connect.
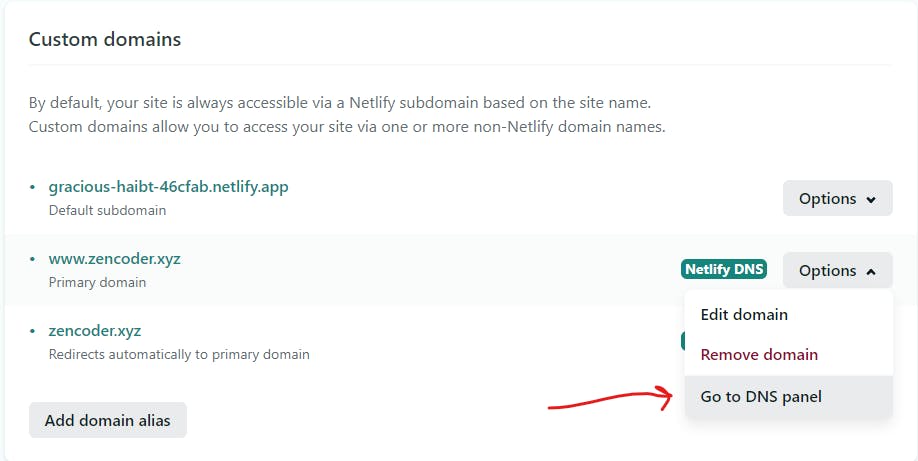
- Click on Domain Settings
Under Custom Domains section, select the DNS Panel from your primary domain options.
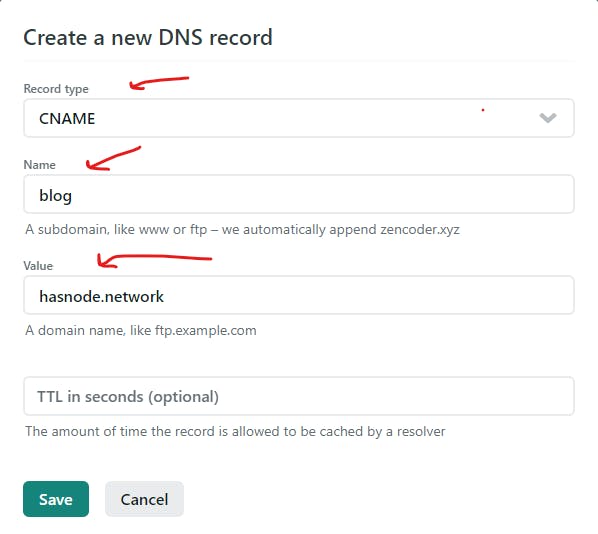
- Click on "Add a New Record" and enter the following DNS Settings
Record Type: CNAME
Name: blog or any subdomain of your choice
Value: hashnode.network
 Silly me. There's a typo in the image
That wasn't hard. Now, let's head back to Hashnode and update your settings.
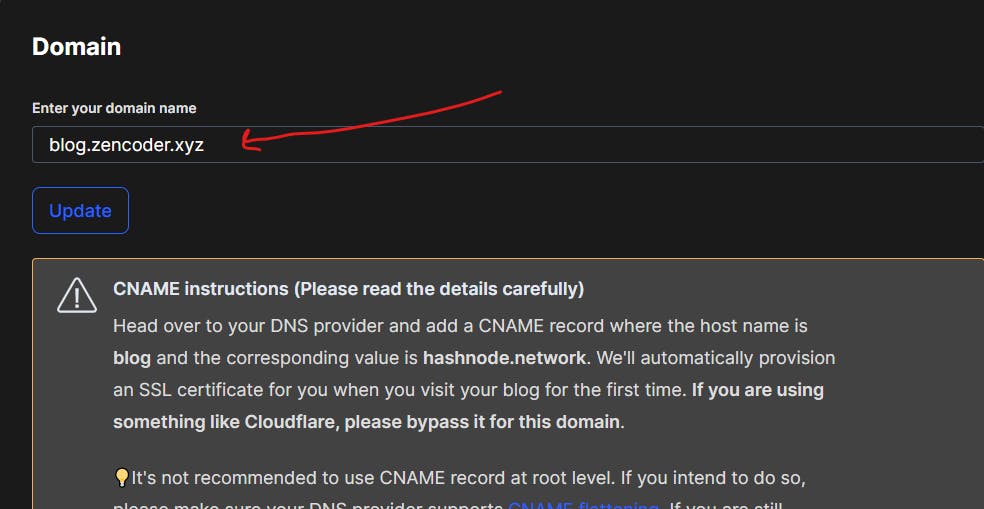
- Go to your Hashnode dashboard Domain section
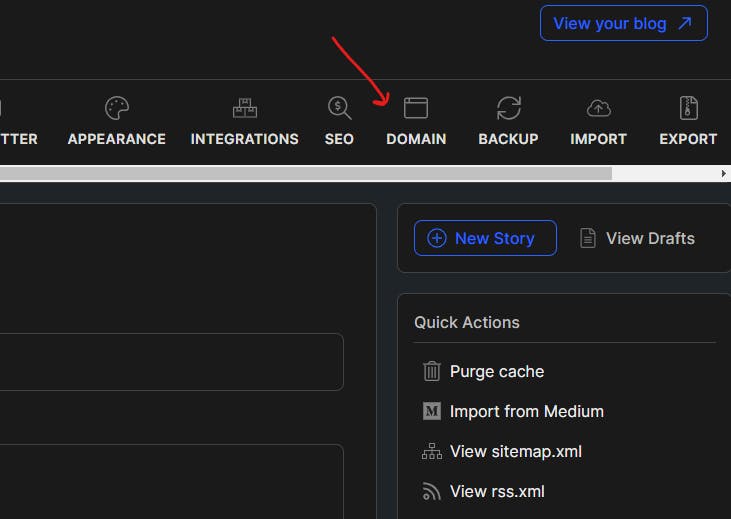
- Update your domain name to fit with the settings from Netlify :
That's all. Easy breezy!
Note that DNS propagation may take within 24 hours, or less. Hit refresh on your new subdomain to check
If you found this post helpful. Please share and discuss with me in the comment session.